- Tasty Australia
- Posts
- 🤤 3 Ingredients. 10 Minutes. That’s It.
🤤 3 Ingredients. 10 Minutes. That’s It.
Plus: Everything you knead to know to make the fluffiest cinnamon rolls 💕
Livia Lun
August 02, 2025

Happy weekend, foodies!
This week we’ve got two banging recipes in store that I honestly can’t stop making 😆. I whipped up the Nerds fairy bread ice cream sandwiches for my friends the other day, and they said it was the best dessert I’ve made in ages! Ahh, the nostalgia 👌. Hot tip: I made half of them with strawberry gelato for my dairy-free gals, and they were SO good.
I also shot a new recipe this week in collaboration with a client, and it’s literally the perfect weeknight meal. Think viral sweet potatoes and beef mince, but better 🤭. Stay tuned for that video!
This weekend I’m heading up to stay at Crowne Plaza Terrigal, and I’m so damn excited. I’ve got a degustation dinner tonight, plus high tea tomorrow ☕️ . Yes, she fancy! Nothing better than a rainy weekend staycay. Will keep y’all posted on all the delicious food we eat.
Until next time,
Tanika (@tanikadouglas_)

Mac ‘N’ Cheese Chiko Rolls
 |  |
✨ Makes 6 ✨ Ingredients ✍️
Method ✍️
| Bonus Tip: When cooking the mac ’n’ cheese, add seasonings like chilli flakes, garlic powder, or smoked paprika for a boost of flavour. |


 |  |  |
Tanika’s Tips 👩🏻🍳🥘
If you need to brown or crisp something evenly in the oven (like meat or veggies), try cooking it on an elevated rack set over a sheet tray.
This setup lets hot air circulate around all sides, helping everything cook and crisp up more evenly. It can also be more efficient than flipping things halfway through, and it prevents the bottom from getting soggy.

Nerds Fairy Bread Ice Cream Sandwiches
 |  |  |
✨Serves 4 ✨
Ingredients ✍️
|
|
Method ✍️
|  |
If You’re Feeling An Easy And Cheesy Snack…Try These Cheesymite Pasta Chips!
 |  |
It really doesn’t get easier than this, my friends. Just 3 ingredients and 10 minutes later, your midnight munchies are sorted. Simply mix our beloved Vegemite and grated cheese into freshly cooked pasta, spoon it onto a tray, flatten slightly, and bake until golden and crispy. Want to add an extra oomph? Serve it with your favourite dipping sauce on the side, and enjoy with family and friends!
For more delicious inspo and rapid recipes, make sure you’re following:
Cinnamon Rolls 101
Use Warm Milk To BloomThe milk needs to be warm enough to activate the yeast, but not so hot that it kills it. The ideal temperature is between 37–43°C. If you don’t have a food thermometer, just make sure the milk feels barely warm to the touch — about body temperature, so it shouldn’t feel hot. |  |
Rest Dough At Warm TempsYeast needs warmth for the dough to rise and cold temps slow this down. Place your milk mixture in the warmest spot in your kitchen while it’s blooming, and do the same later when proofing the dough. If your kitchen’s chilly, simply turn the oven on low and set the bowl down nearby. |  |
Knead With Minimal FlourOnce you start kneading your proofed dough, it’ll become nice and sticky. Use as little extra flour as possible, just enough to stop sticking. The wetter the dough, the softer the rolls. Knead for about 10 minutes until smooth and springy. | 
|
Shape Dough Into RectangleOnce your dough is proofed, roll it out into an even rectangle. Use a bench scraper or spatula to square off the edges as you go. Aim for a consistent thickness, somewhere between 1.25cm and 2cm, depending on how thick you want your rolls. | 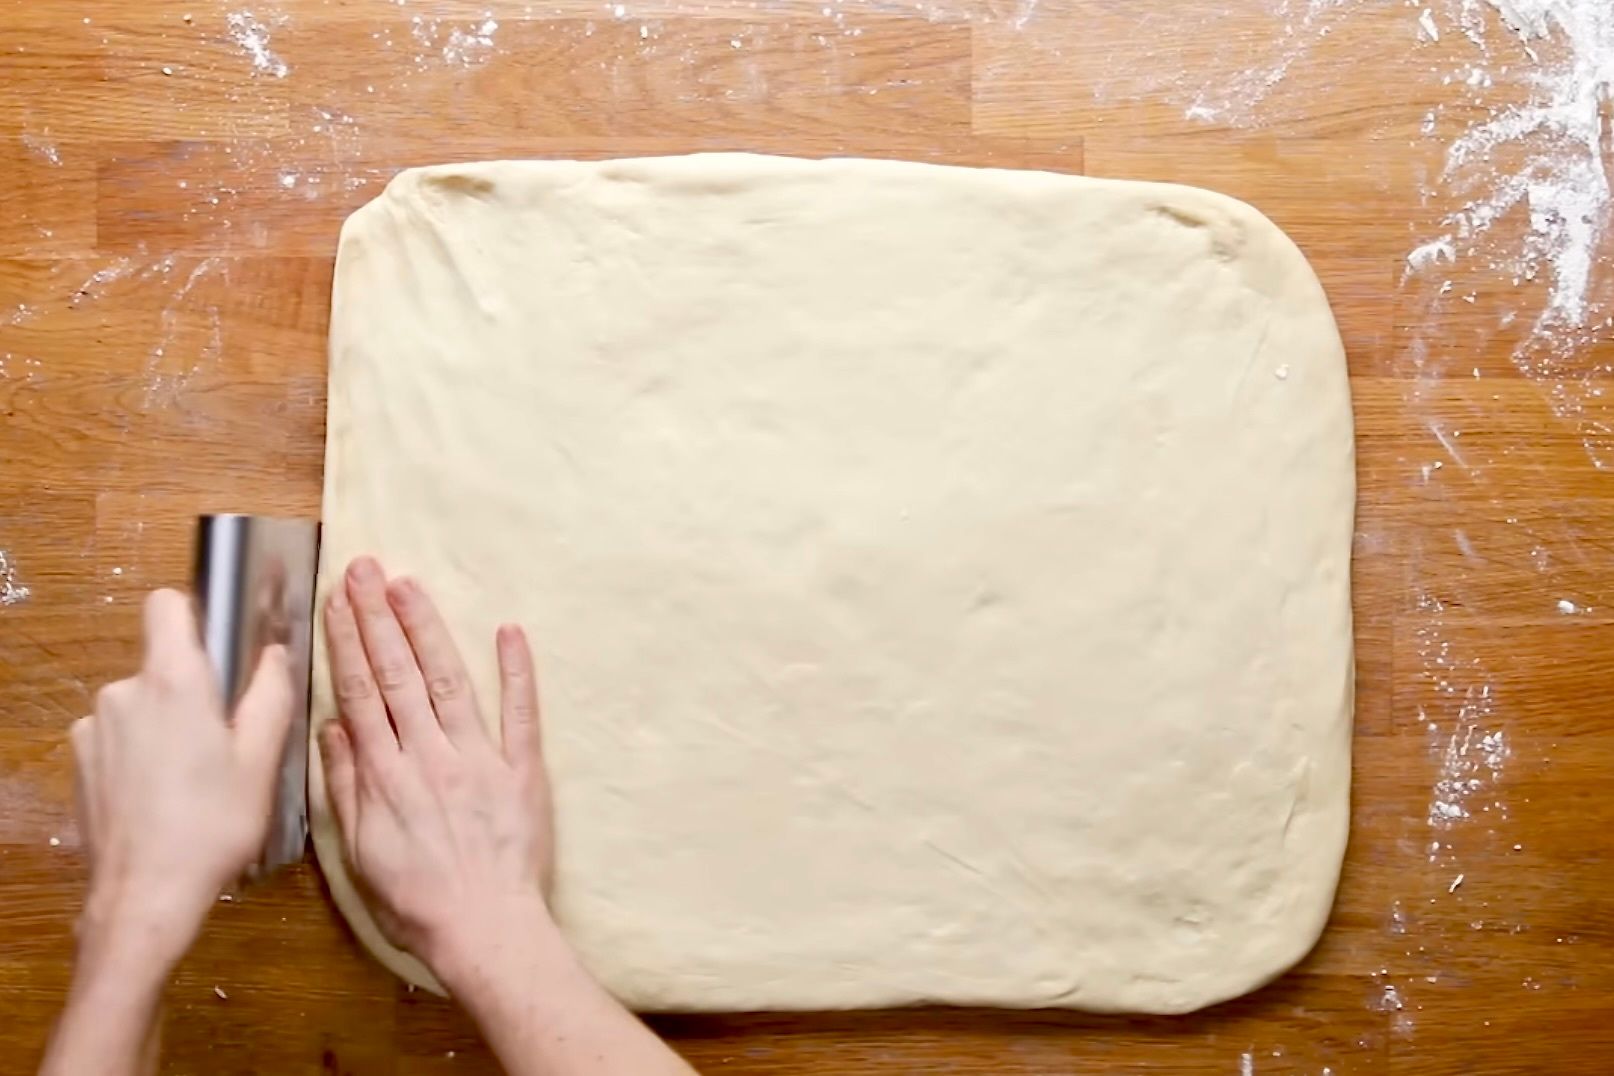 |
Chill Before CuttingIf your rolled dough isn’t holding its shape or feels too soft to slice, pop it in the fridge for 10 minutes. If needed, use dental floss to cut perfect spirals. Unlike knives, floss won’t squish the dough. |  |
Proof Again Before BakingLet your rolls proof again for 40 minutes before baking — it’s essential for fluffy, airy buns. After baking, let them cool for about 10 minutes before icing so you get a nice and even glaze, not melted icing. |  |